Full Part Inspection
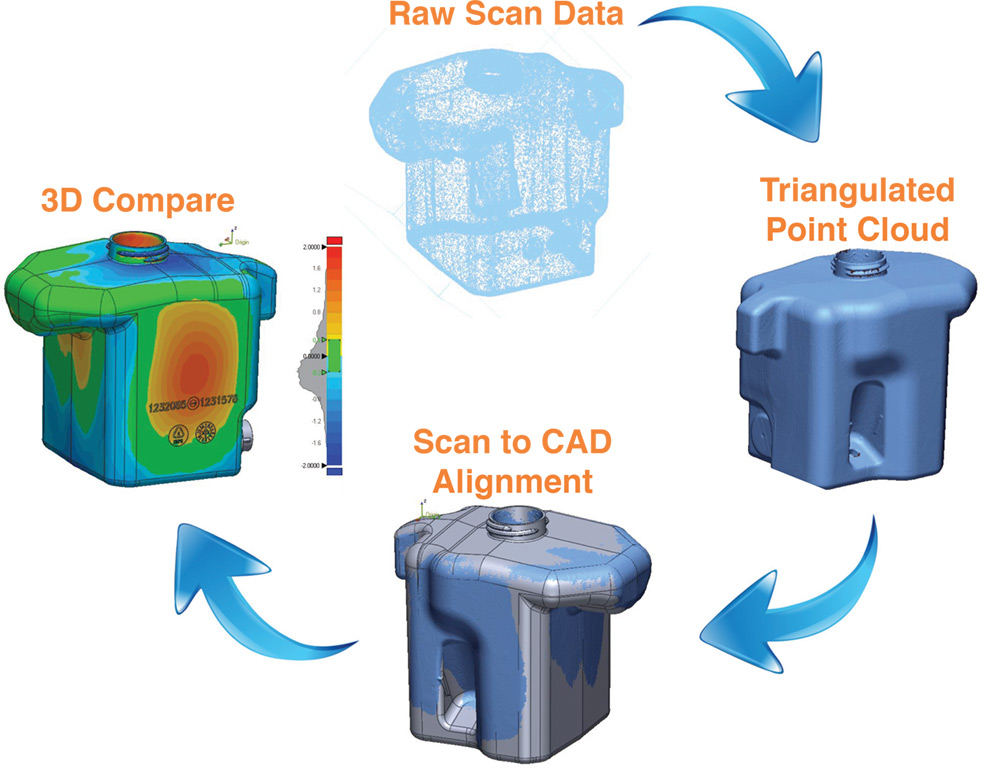
Using powerful software and today’s latest laser scanning technology we are able to capture thousands of points on any manufactured part and compare it back to its original design intent. With user friendly color mapping, our customers are able to easily pick out dimensional irregularities and wear and tear on tooling.
Inspection Process
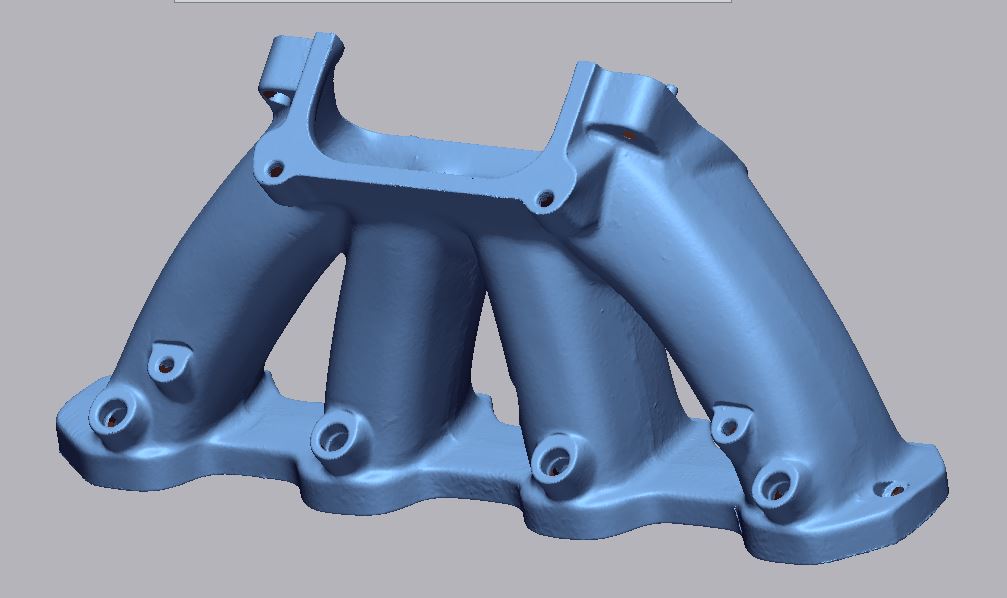
Scanning Equipment
Mitutoyo CMM Scanning
Our Mitutoyo CMM Scanner is used when high accuracy is needed on smaller parts.
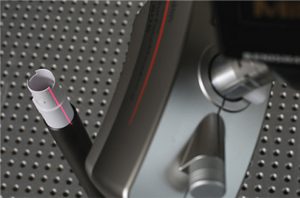
- Working Distance: 3.66”
- Scanning Error: 12 µm (.00047 in.)
- Resolution: ≥ .06mm
- Light Source: 1 Red Laser
Creaform Handy Scan 700
Our hand held red light scanner, used for larger parts but still maintains high accuracy.
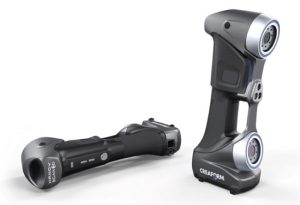
- Accuracy: Up to .03 mm (.0012 in.)
- Volumetric Accuracy: 0.020 mm + 0.060 mm/m (0.0008 in. + 0.0007 in./ft)
- Resolution: 0.050 mm (0.0020 in.)
- Measurement rate: 480,000 measurements/s
- Light Source: 7 laser crosses (+1 extra line)
Software and Reporting
Geomagic Control X
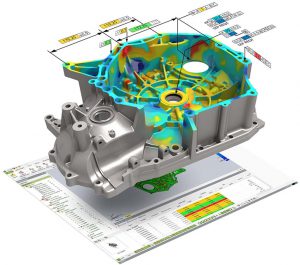 Using top-grade inspection software we are able to report color maps, Dimensional analysis, profile calculations, and much more. Reports are easy to understand and illustrate exactly what our customers need to see.
Reporting Capabilities
- A simple PDF for printing and reporting back to existing customers.
3D PDF
- Allows the customer to scroll, zoom, and turn the part for easy viewing in all angles. (Example 3D PDF)
Point Cloud
- We will provide the raw scan data to any customer upon request
- .xyz
- .xdl
- .ply
- .pts
3D Mesh
- We will also provide a triangulated mesh of the raw scan data upon request
- .stl
- .xdl
